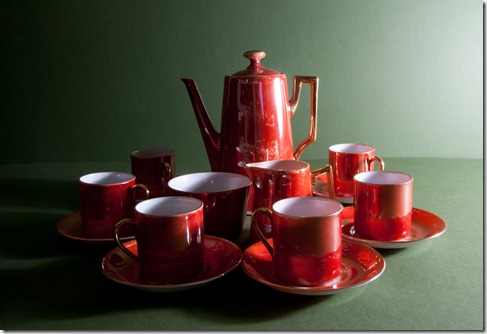
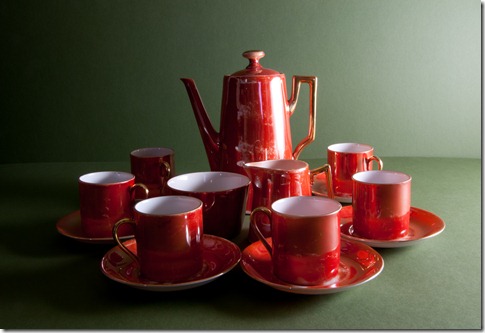
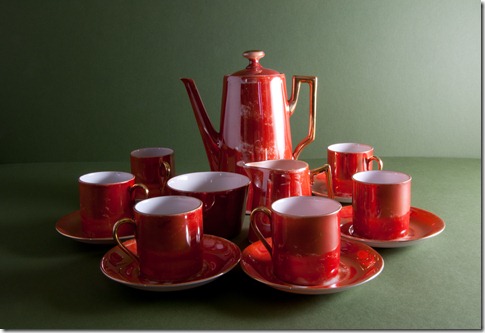
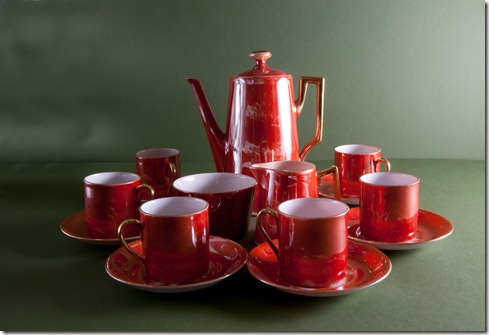
Using a coffee set for the still life, placed on and in front of green mountboard, various reflectors were used to see the difference in contrast and the effects of shadow fill. The seven suggested reflectors were used and then taken further with another four modes.
The first seven were placed in the order of highest contrast to lowest, as follows:
The light was placed approximately 1 metre from and at the same level as the coffee set and positioned to shine at an angle of 90 Deg to the direction of the camera line of sight. The camera was in aperture priority and tripod mounted. No other light was present in the room, the window blind and curtains were drawn and the door was closed.
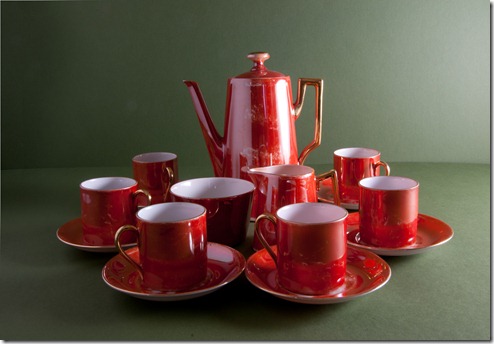
No diffuser or reflector.
The daylight lamp being used did not have the diffuser fitted. No reflectors were used.
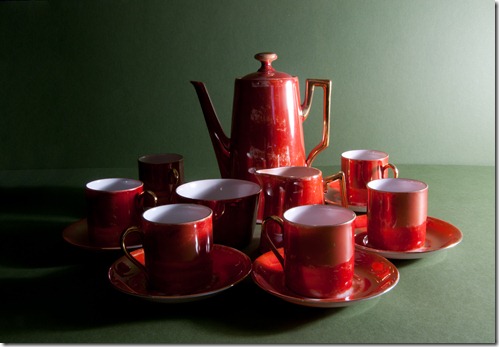
This setup produced the hardest light with the highest contrast. Shadows are deep and there’s not much detail in the china.
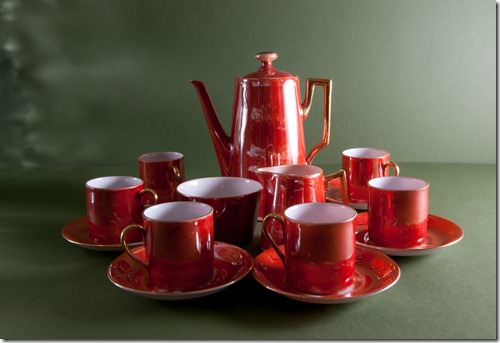
Diffuser – no reflector
With the diffuser fitted to the lamp the image has become softer. More of the detail is showing compared to the first image and the contrast has decreased.
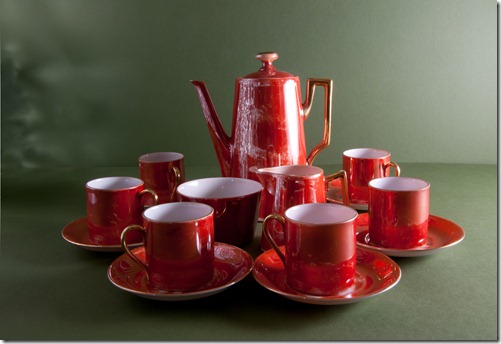
White Board reflector 1 m
A piece of A1 Ice White mountboard was held 1 metre to the left of the set, opposite the diffused lamp. Light is now reflected from the board and ‘fills’ the shadow areas in the set. More detail is seen than in the previous images, but the contrast is further reduced. The set is becoming lighter.
Foil reflector – dull side
Kitchen foil is placed in front of the mountboard with its dull side facing the set. The overall brightness has increased yet again with a better fill effect. Details in the shadows have improved, but there’s a slight loss in contrast. The reflected light line on the crockery seems brighter and narrower than that of the card – I can only assume that there’s a slight convex curve on the foil.
White Board reflector 0.5 m
The white mountboard is positioned 0.5 metre from the set. There is now less light loss due to distance, both from the lamp to the reflector and from the reflector to the set, so the set becomes brighter again. The shadows reduce as they are ‘filled’ with light and more detail is seen throughout the set, while the contrast decreases
Foil reflector – bright side
The foil was reversed so that the shiny side faced the set. This has further increased the shadow fill and reduced the contrast.
Foil Crumpled
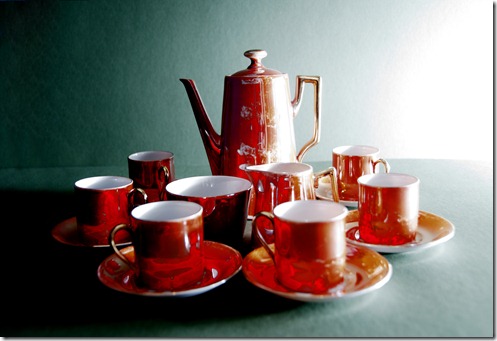
The foil was crumpled and straightened again, then positioned with the crumpled shiny side facing the set. This has increased the reflected light further. It’s not the effect I expected, but this may be due to having more faces reflecting light towards the set. Whatever the reason, the set has become less contrasty and generally lighter. The reflected light patterns are interesting.
Black Mountboard Reflector – Diffused Lamp
Now experimenting to see the effect of black mountboard, the contrast has increased beyond that of the first image.
Black Mountboard Reflector – No diffuser
Removing the diffuser, the shadows are now harsher and contrast has increased still further.
Black Cloth reflector – No diffuser
Using a matt black, cloth reflector the dark areas have become even darker. Contrast has further increased.
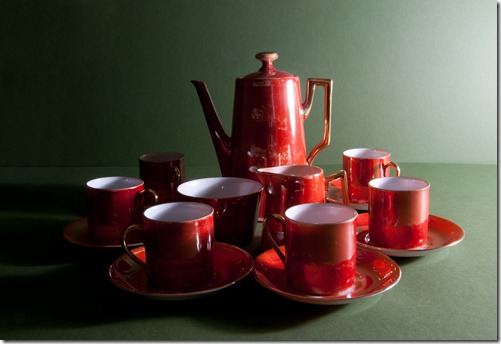
Black Mountboard Reflector – Reflected Flash
For this image I replaced the lamp with a digital flash lamp, mounted on a mini tripod and facing away from the set onto a reflector made from the crumpled foil – the set was then lit by the reflected light from the flash. The flash was triggered using a radio control from the camera. The shadows in the image are now completely black and the white areas have some burn out. I don’t think I can increase the contrast any further for this set. I like the effects on the red areas in this image.
So we have seen that the positioning of the reflector has an impact on the amount of light reflected – the closer the reflector, the lighter the set. We have also seen that the brightness and lightness of the reflector also has an impact on the amount of light reflected – the brighter the reflector, the more the light is reflected.
We have also seen that the more the light is reflected the more shadow fill is gained and the contrast reduced.
Experimenting further, the next image uses two lights:
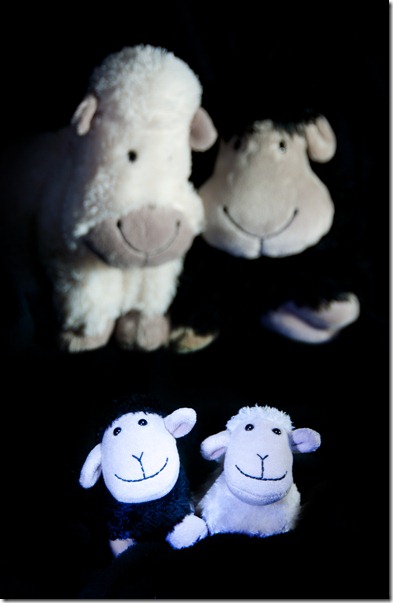
I made a snood to fit the daylight lamp, using white card covered by matt black fabric which was taped to the daylight lamp and pointed it to the adult sheep (Fluff and Truff)
The young sheep (Truffson and Fluffette) were lit by a hand held LED spot lamp.
Setting out
I used a black polyester dressing gown for the set and used a large aperture (f/3.5) so that the parents were out of focus (as we generally are where the offspring are concerned).
I think the two different lights work well here as the youngsters are much ‘whiter and brighter’ than the ancients who we’d expect to be going a bit off white. The dark space between the two couples works to effectively separate the two distinct areas.
This has been another very interesting and enlightening exercise.

No comments:
Post a Comment