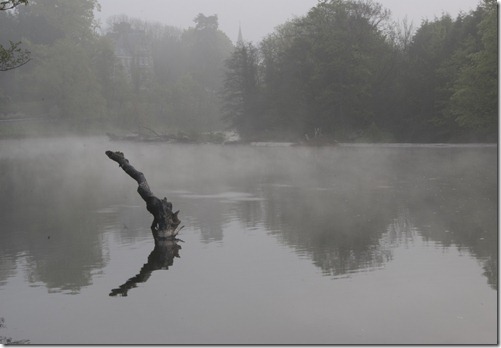
The image chosen for the first part of this exercise was taken early in the morning before the mist cleared on the river – even too early for the waterfowl to arrive. This image had a relatively long exposure (1/20 sec) which makes it more likely to show up marks on the sensor.
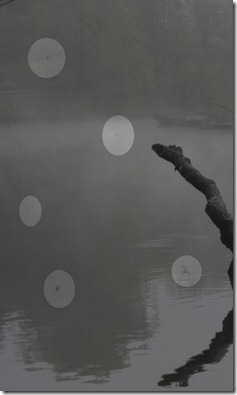
Looking more closely there are several marks on the sensor:
At this time of day, the last consideration is a dirty sensor. I’d have to admit to poor maintenance here. This was taken with a Nikon D200. The D300s has automatic sensor cleaning which has reduced the problem considerably.
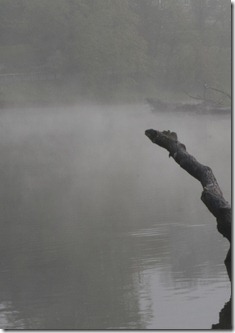
These were easily removed, using the spot healing tool in Photoshop CS5.1
With the ‘content aware’ selected, the correction is simple and undetectable.
Personally, I don’t have a problem with this type of correction.
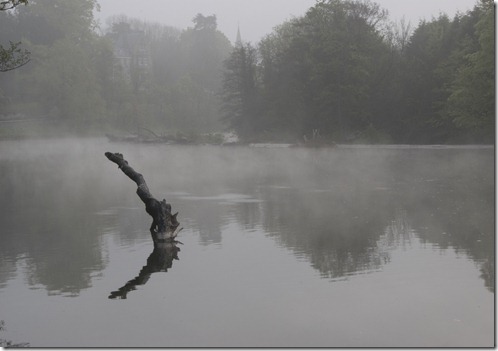
The corrected view looks as it should, without the imperfections of the original image. I think it looks better in monochrome:
Using the supplied image, I’ve again used the spot healing brush, and also the clone tool, to remove what I believe to be imperfections due to dust on the sensor. I may have removed some of the natural blemishes in the subject, but I think the judgment call is reasonable, as I’ve left any coloured marks, rather than the grey / black marks usually attributed to dust.
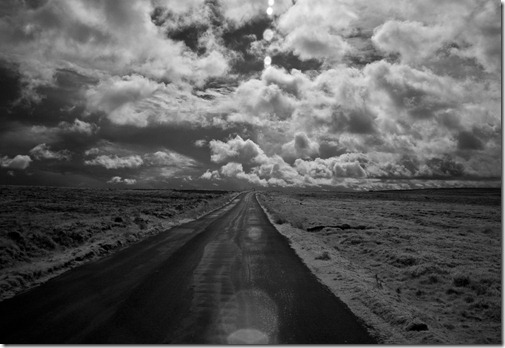
The second image from my collection has lens flare:
This was an experiment using a Nikon D70, with the sensor screen converted for infrared photography – I wanted to see if the lens flare was apparent in infrared – it was!
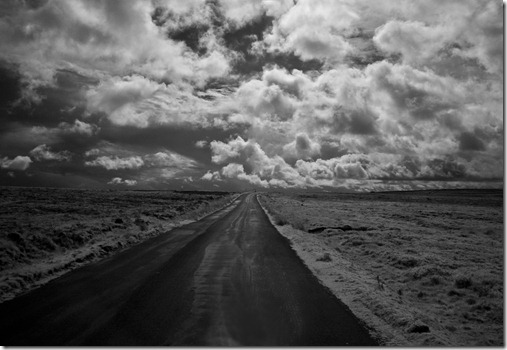
To remove the lens flare I used the spot healing brush, the clone tool and the burning tool.
I know the corrected image is not exactly as the scene when I took the image, but in this case I’m quite happy with the result, as it’s an ‘art’ image rather than a documentary type, so an exact replica of the scene is not required. The original flare lines look quite good too, so their removal could be called into question anyway.
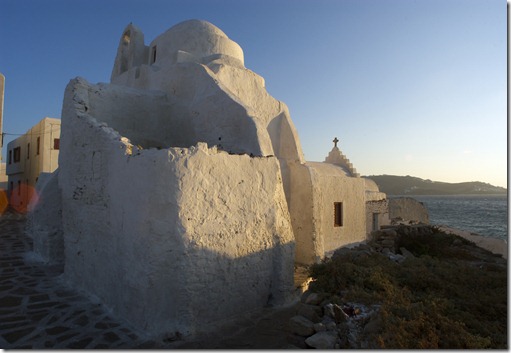
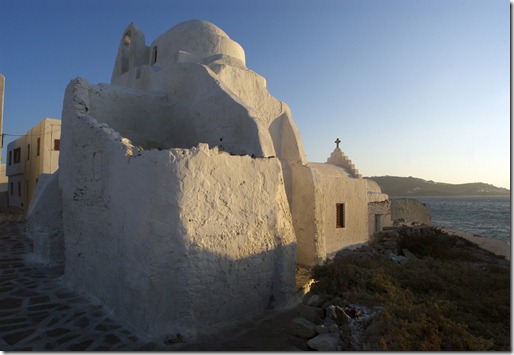
Using the supplied image for flare was more difficult, as I assumed that a reasonably accurate interpretation was required:
For this correction I had to almost reconstruct the buildings in the area of the flaring, using the clone tool. I also selected the flare polygon area and used ‘selective colour’ and ‘replace colour’ adjustments to reduce the impact of the red and yellow in this part of the image.
I also used the spot removal tool, to remove what I perceived to be extensions of the flare line in the sky above the headland.
The reconstruction involved virtually rebuilding the windows so obviously there will be some difference to what was originally seen in the view, so obviously there may be concerns here if it were to be a record image. I’ve shown what can be done to correct the flare and personally I’d be happy with it if it was my image, but other viewers may have concerns.
I was shown, over 40 years ago how different skies could be masked onto clear ones in landscape photographs in the darkroom, to produce a more pleasing image and it was old technology then. So nothing has changed here with digital imagery – it’s just got easier and better. Whether it’s ethical or not depends on the purpose of the image – I prefer to consider myself more of an artist!

No comments:
Post a Comment