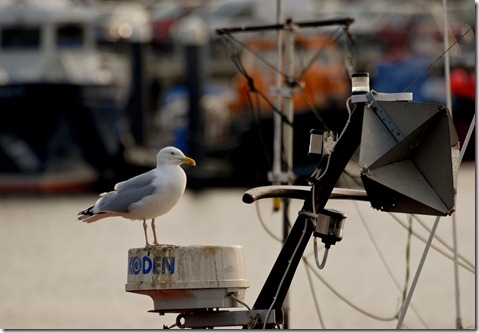
The first image – daylight – was taken at the harbour.
440 mm, f/10, 1/160 sec
Adjustments made to the Raw image in Lightroom 3 were:
Exposure + 0.69
Highlight recovery + 22
Black Clipping +9 (to 14 from default of 5)
Clarity +52
Vibrance +49
White Balance Temperature + 253 to 5103
The local adjustment brush was used to darken the background, so accentuating the gull.
Adjustments made to the jpeg image in Lightroom 3 were:
Exposure + 0.32
Highlight recovery + 16
Fill light +7
Black Clipping +8
Clarity +22
Vibrance +10
White Balance Temperature +13 – Actual final temperature was not available.
It can be seen that adjustments in the Raw image were much higher than in the jpeg image for a similar result, so the adjustments in the Raw file are much more controllable. The colours in the Raw file look much more natural – the automatic in camera adjustments for the jpeg image have flattened the image slightly.
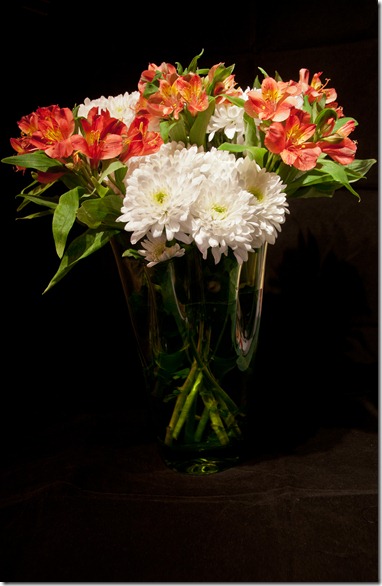
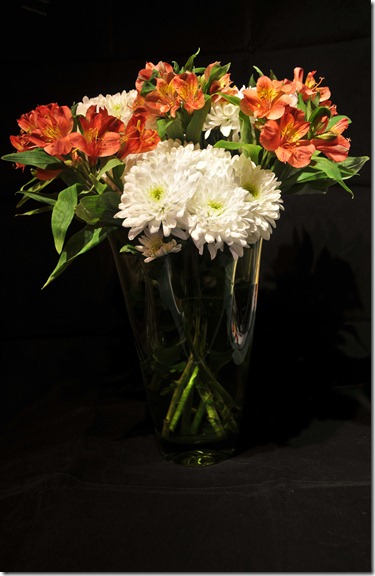
The second image – artificial light – was taken in my study, using overhead halogen spotlamps
28 mm, f/7.1, 1/5 sec
Adjustments made on the Raw image in Lightroom 3 were:
Exposure + 0.05
Highlight recovery +32
Clarity + 84
Saturation +3
The local adjustment brush was used, to select the vase and increase the exposure, contrast and clarity in that area.
The local adjustment brush was then used to select the white flowers and reduce the exposure and increase the clarity, saturation and contrast in that area – this was to show more detail in the flower petals.
Adjustments made to the jpeg file, also in Lightroom 3 were:
Clarity +68
Highlight recovery +43
The local adjustment brush was used to select the white flowers and decrease the exposure in that area.
Again, the adjustments to the Raw image required bigger steps, but that makes finer adjustments easier.
I was happy with the automatic white balance in the Raw image. That in the jpeg seemed slightly warm, but not too much.
There must have been some sharpening with the in-camera jpeg conversion as the petals of the white flowers in the jpeg image required less adjustment than the Raw file.
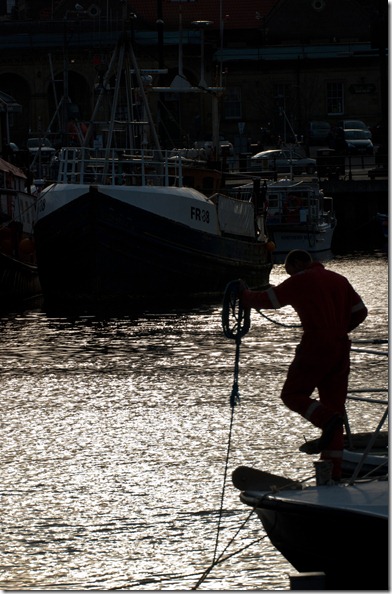
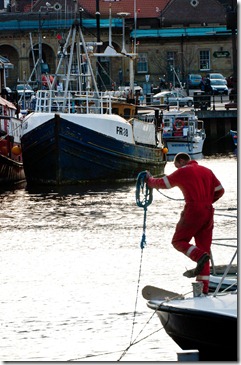
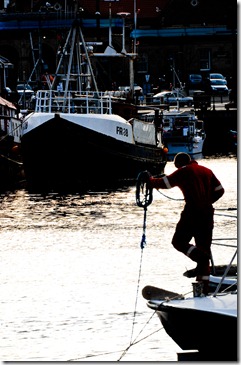
The final image – high dynamic range - was again taken in the harbour
175 mm, f/10, 1/500 sec
Adjustments made on the Raw image in Lightroom 3 were:
Exposure + 0.14
Highlight recovery +32
Clarity + 56
Vibrance +26
The local adjustment brush was used, to select the blue scaffolding lines above the station and darken them so they weren’t so prominent.
Adjustments made on the jpeg image in Lightroom 3 were:
Exposure -0.51
Highlight recovery +11
Black Clipping +3
Clarity + 40
Vibrance +40
The local adjustment brush was used, to select the blue scaffolding lines above the station and darken them so they weren’t so prominent.
The automatic White Balance worked well for this image. Both images work well, but I feel there’s more control in the highlight areas with Raw.
A more noticeable difference was noted when looking at the shadow areas in the two formats.
Both of these images have had their exposure increased by 3 stops, using Lightroom. The Raw image on the left can still bring out the colours and details across the whole range. The jpeg image on the right has lost all the detail in these shadow areas – it seems therefore that there’s a loss of data in the conversion.
We’ve seen advantages in using Raw over jpeg images.
· There’s no loss of data from the camera.
· The available amount of exposure compensation is far greater.
· The accuracy of any changes to the various parameters is far greater – so lots more control over how the image looks.
· Processing on the computer, rather than the camera means that there is more scope to produce the image required.
· Colours appear to be more accurate.
· White balance can be more easily and accurately changed.
· No loss due to sharpening
There are some disadvantages:
· It must be further processed and saved in another format before any print can be made.
· The files are much bigger – so more storage required.
· It takes more time and perseverance to create the final image.
Consider also the artefacts which may occur in jpeg images and the fact that further processing and saving as jpeg creates another loss of data.
Overall, I’m still convinced that Raw is the best way to take images – jpegs have their place, but I prefer to stay with Raw.


No comments:
Post a Comment