Correction of colour casts is addressed in this exercise. Each image was taken in Raw with a high resolution jpeg copy. Obviously the jpeg file has had some ‘in-camera’ adjustments. Prior to correcting any of these images, my monitor was recalibrated, using a Gretag Macbeth Eye One, Display 2 calibrator
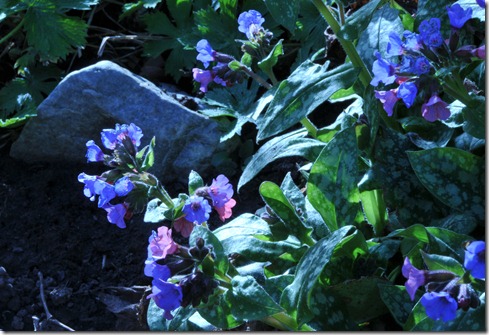
The first image was taken in our garden on a bright sunny day, but with the White Balance set for incandescent lighting to create the colour cast.
This jpeg image has a distinctly blue cast. The stone is a mid grey which will be used for reference.
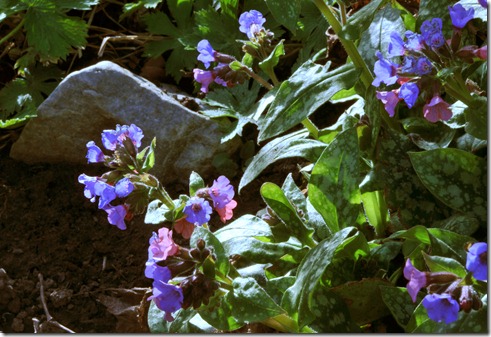
Correction of this cast was done in a single stroke, using the ‘grey dropper’ tool accessed from a ‘Levels’ adjustment layer. Selecting the shadow area of the grey stone produced this correction:
No other adjustments were needed, as this is a good representation of the perceived colours on the day.
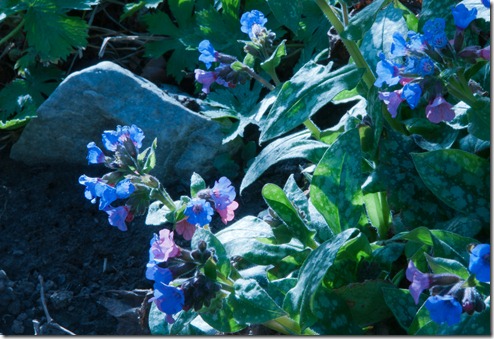
The Raw file was corrected for maximum dynamic range and saved as a tiff, as below:
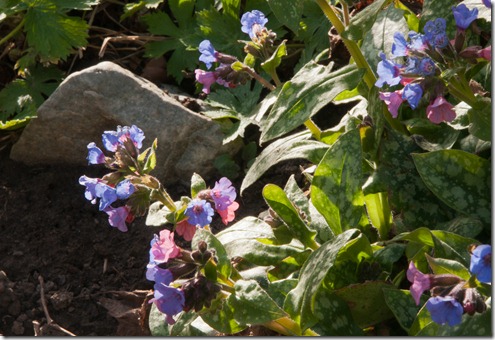
In Adobe Raw, within Photoshop, the temperature was increased from 2950oK to 5500oK. Highlight recovery was increased and the blacks decreased to remove Highlight and Shadows Clipping. Clarity and Vibrance were increased. The resulting image was as below:
The raw file again provides a more controllable method of correction, but it obviously takes longer.
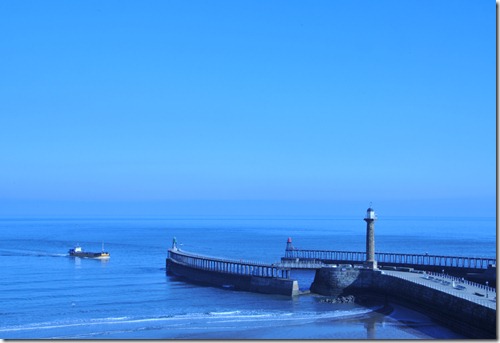
The second image was taken on a bright slightly hazy day with the White Balance again set for incandescent light. The jpeg image was as below:
The sky and sea, with the cast due to the white balance have made this image very blue indeed.
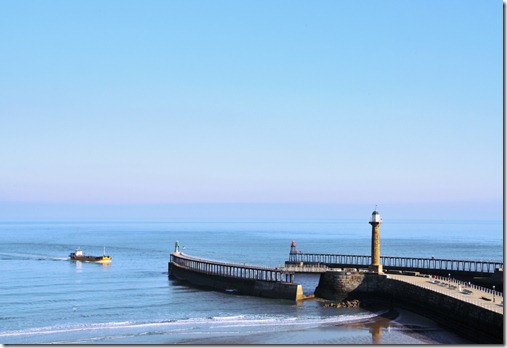
I had intended to use the concrete of the top of the pier as a reference point for the ‘grey dropper’ tool, but the correction didn’t work as well as the previous image – probably due to the sandy colour of the concrete – so a selective colour layer was used to further correct the cast:
This was an improvement, but still not to my satisfaction.
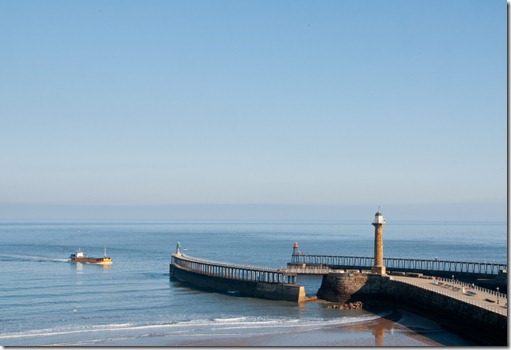
With the Raw image I had more chance of success:
Again, there’s a very blue cast to correct. In Adobe Raw I increased the Colour temperature from 2950 oK to 5300 oK, which improved the image considerably. I also increased the Highlight recovery, the Blacks, Contrast, Clarity and Vibrance. The Raw file was then saved as a Tiff file. A selective colour adjustment layer was used to further enhance the Red, Yellow and Green colours in the image, to produce the image below:
I’m much happier with the colours shown here, which are much closer to those seen at the time.
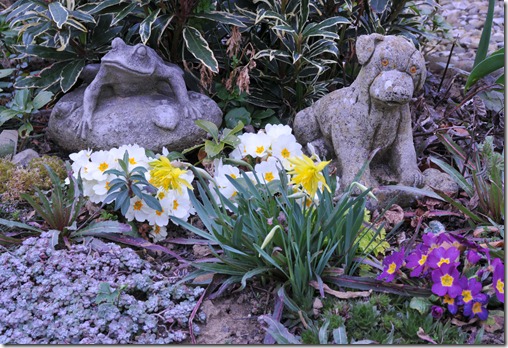
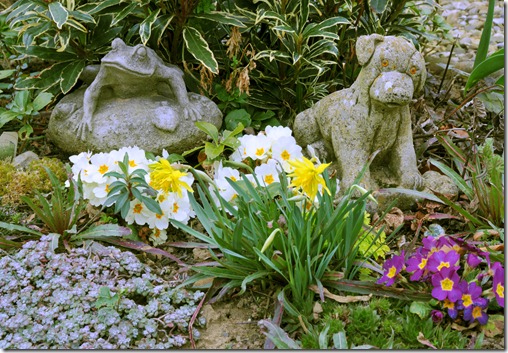
The third image was again captured in our garden. Taken on a very cloudy day with the White Balance set for fluorescent lighting to create a colour cast:
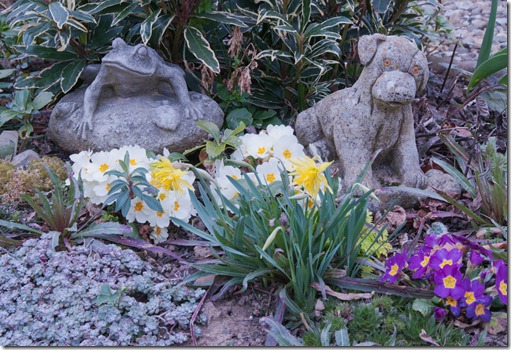
This image has a colour cast which is not as severe as the previous two, but it still needs some modification. The base of the concrete frog was used as target for the ‘grey dropper’ tool, which produced the following correction:
The colours in this image are very close to those seen at the time.
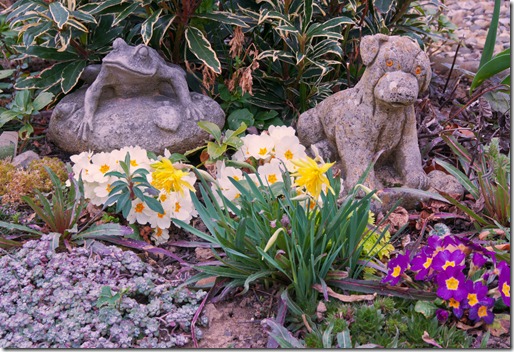
Using the Raw image, I decided to try to make the image look warmer than the above.
The above Raw image was opened in Adobe Raw and the colour temperature increased from 3950 oK to 4400 oK. Highlight recovery, Clarity, Vibrance and Saturation were increased and the image saved as a Tiff. A selective colour adjustment layer was then used to produce the ‘warmer’ tones below:
In this image you’d almost think the sun was breaking through!
So again, Raw files are much more controllable and generally produce better results than those available from jpeg files.

No comments:
Post a Comment