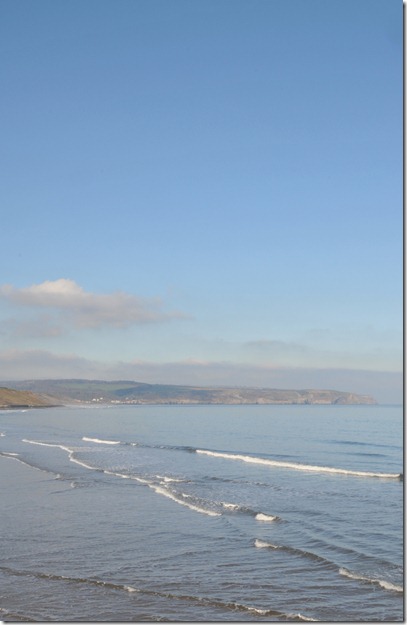
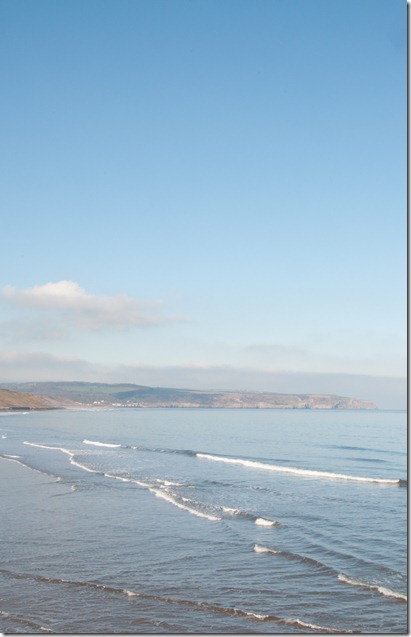
The image used for this exercise was taken on a slightly hazy but almost cloudless morning. Shooting away from the sun, to minimize shadows and increase the colour, I produced this low dynamic range, very flat image:
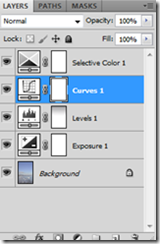
This jpeg image was opened in Photoshop where the exposure was reduced by one stop.
Using a ‘Levels’ adjustment layer with the Alt key depressed, the input black slider was moved to the right until the first indication of black was seen (at the curl of one of the waves).
Still with the Alt key depressed, the white slider was moved to the left until the first highlight clipping was seen (on a breaking wave).
This caused the blue sky to become too strong, so a black / white gradient was used in the layer mask with opacity of 40%, running from the top of the image to the first of the clouds. This reduced the effect of the levels adjustment layer.
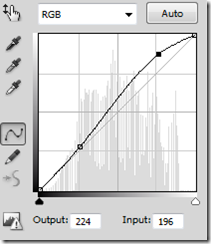
A curves adjustment layer was then used to increase the mid-tone contrast, by creating an ‘S’ curve to lighten the highlight areas while holding back the darker parts:
A selective colour adjustment layer was then used to lighten the cyan and blue colours.
The raw image was then opened in The Adobe Raw editor in Photoshop.
The exposure and black sliders were increased until shadows and highlight clipping was seen. This also altered the colour balance, so the White Balance was adjusted, to reduce the impact of the strong sky. The clarity and contrast sliders were also used – this altered the highlight and shadow clipping, so the exposure / black sliders required more adjustment.
The brush tool was used to overexpose the now very dark sky and again to under expose and increase the clarity on the headland and village.
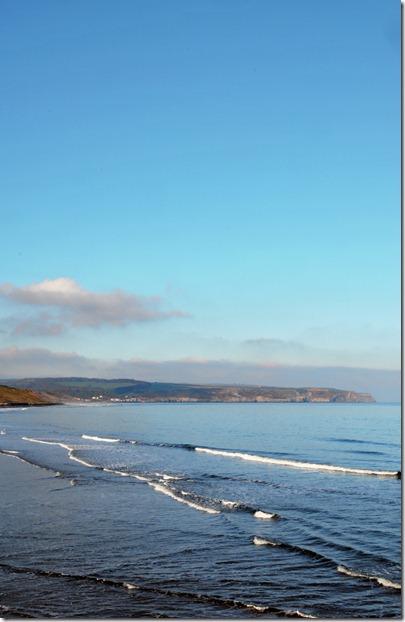
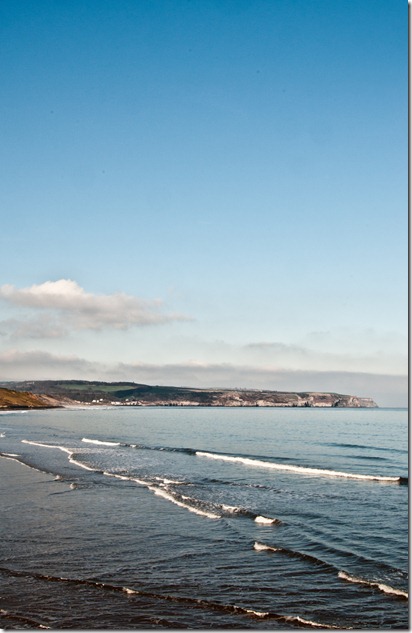
Generally I’d say that the raw image was more versatile, particularly with the use of the brushes in the Raw editor, and has produced a slightly better result. Much better control is available for image adjustments.
I’d make further colour adjustments in Photoshop proper, using a selective colour adjustment layer, but this exercise is aimed at the ‘tone’ control rather than ‘colour’.
No comments:
Post a Comment